Content:
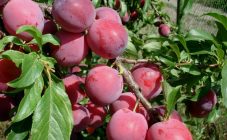
When planting a fruit tree on the site, the gardener expects delicious bountiful harvests. However, expectations are not always justified, because in the end a tree of a completely different variety or even a wild species may grow. In order not to take risks when buying seedlings, you can figure out how to grow a plum from a stone.
Ways to grow plums
You can propagate a plum:
- root shoots;
- cuttings;
- vaccination;
- seed germination.
It is almost impossible to grow a varietal species from seeds. Often this option is used in order to graft buds or cuttings of other varieties to the tree in the future.
Growing plums at home
Cuttings are a very good option for growing plums. The trees are healthy and the fruits are delicious. The cuttings take root quite easily and quickly.
Plum propagation by layering is a vegetative propagation method. This method preserves all the characteristics of the variety.
Growing plums from root shoots is the simplest breeding option. It is important to consider one point here - you cannot use sprouts that are in close proximity to the mother plant. The most distant ones should be chosen.
Advantages and disadvantages of growing from seed
With this method of propagation, it is often impossible to preserve the characteristics of the variety. The wild may grow, bearing sour and small fruits. But it is certainly worth trying. An important condition for success is the selection of a tree with stable parental characteristics.
For the middle lane, it is worth choosing the following varieties of plums:
- Belarusian,
- Volga beauty,
- Vitebsk late,
- Minsk is yellow.
Plum Volga beauty
For a warm climate, the best option would be:
- Kuban comet, which is a hybrid cherry plum,
- Victoria, Crooman.
Suitable for a harsh continental climate:
- Morning,
- Egg blue
- Eurasia.

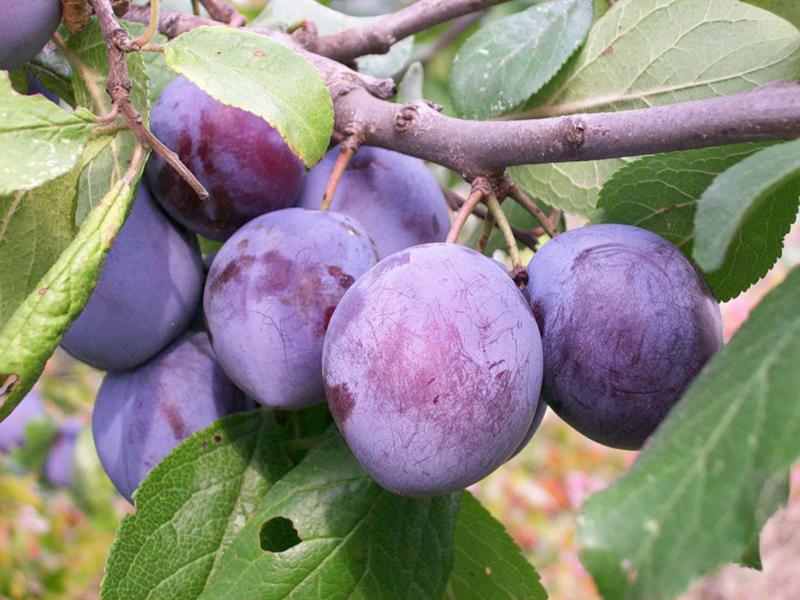
Plum Eurasia
For any climate, frost-resistant varieties are suitable: Ussuriyskaya, Chinese early-growing, Canadian.
When growing plums from stone at home, the first fruits can be tasted after 5 or 6 years.
Detailed description of growing plum from stone
A plum tree can be grown from a seed even at home. This process requires compliance with many conditions and nuances.
Selection of planting material
The final result depends on the selection of the bone. As mentioned earlier, it is necessary to select a variety that is highly resistant to crossing with other species.
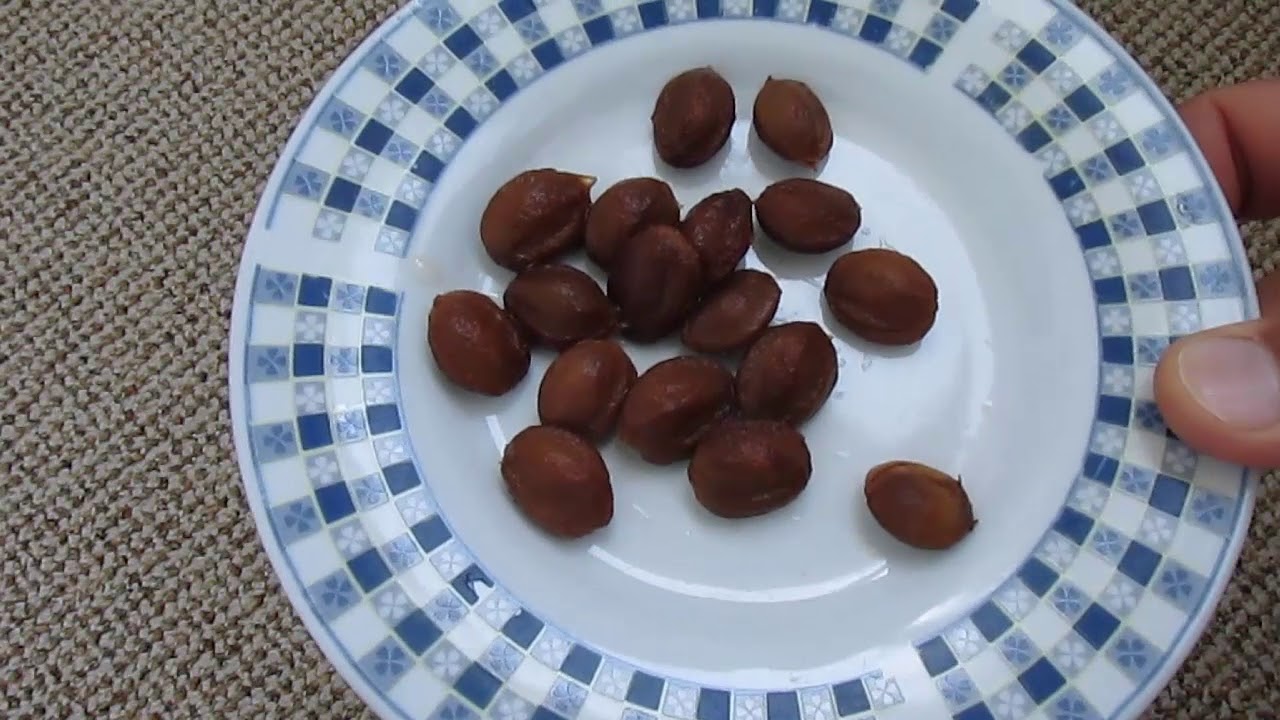
You shouldn't place high hopes on a single seed. It is necessary to germinate several specimens at once in order to increase the chances of growing a fully developed tree.
Seed preparation for planting
In order for the selected seeds to germinate and begin to develop fully, they will need preparation. The main stage is called stratification. The bottom line is to keep the planting material in a cool temperature and high humidity. Thanks to this preparation, you can safely germinate a bone at home.
For stratification, a substrate will be required, which should consist of:
- chopped moss,
- perlite,
- low-lying peat,
- sawdust,
- coarse river sand.
The prepared substrate must be moistened with a special solution: 5 g of potassium permanganate per 1 liter of water.
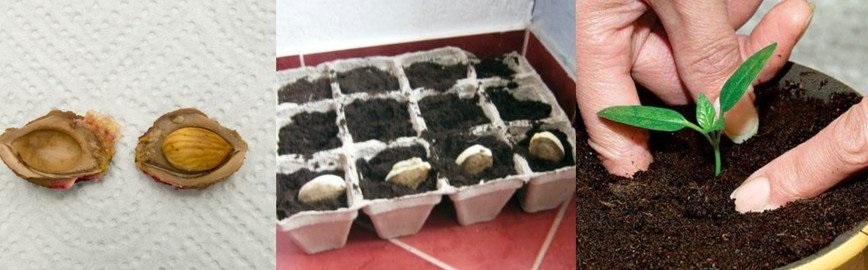
Before sending the seed to the substrate, it must be kept in water for three days. It is important not to completely immerse it in the liquid, but only half. This will provide the embryo with oxygen. It will need to be turned over from time to time. Thanks to this procedure, the components that inhibit the development of the embryo will be washed out.
Preparing for landing
Prepare a container for stratification. It can be a regular pot or any other container. It is imperative to make holes from the bottom of the container that will protect the soil from fungal neoplasms. The moistened substrate must be laid out in a prepared container, the seeds must be distributed in it, which should not touch each other. Cover the pot with plastic wrap or glass.
Now you can start straightforward stratification. It consists in the following actions:
- Warming up. The first 2 weeks after planting the seed, the air temperature should be within + 15-20˚С.
- Contrast cooling. Place the container with the planting material in the lower part of the refrigerator compartment. The temperature should be within + 1-5˚С. This stage lasts for 60-80 days.
Pre-sowing stage
During this period, the temperature in the room where the container with the seed is located must be reduced to 0˚С. This period should last at least 25 days and no more than a month. Often a basement is used for this period. During this step, it is important to monitor the moisture content of the substrate.
It is very important not to miss the time when the planting material is ready for transplantation. A cracked bone shell will be an indicator of this. It is at this moment that the bones must be planted in more comfortable conditions.
Planting prepared planting material
To create the most comfortable conditions, you will need the correct selection of a pot in which the plant can be grown. It must be at least 20 cm in diameter. Now it is worth taking care of the composition of the soil in which the plum will be grown:
- put a layer of expanded clay on the bottom - height from 3 to 5 cm;
- then a layer of coarse sand;
- the base layer should consist of the following components, mixed in equal proportions: humus, vermiculite, peat or leaf earth.
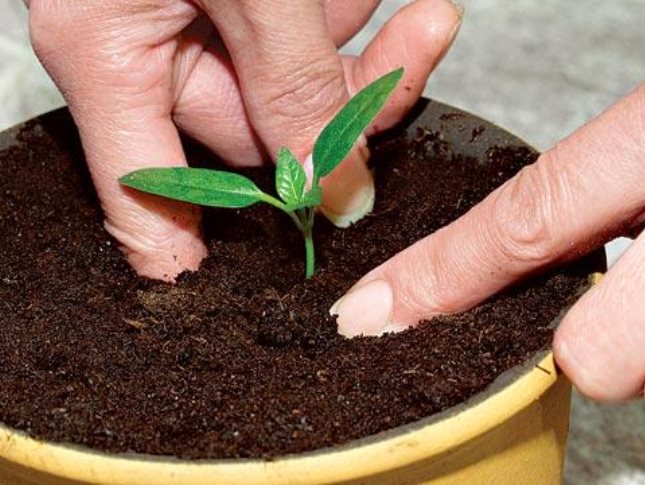
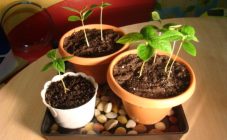
Planting plums in a pot at home
The prepared composition in the pot must be well watered, and then the bone must be deepened 5 cm into it. It is important that it is located in the center of the container. Cover the container with plastic wrap. A sprout should appear in about 45 days. But this will require the fulfillment of a number of conditions.
Detailed plant care instructions:
- It is necessary to constantly ventilate the soil by removing the film from the pot.
- Do not place the seed pot in a dark place. The best option would be a window sill located on the west or south side. If there is insufficient lighting, it is worth installing fluorescent lamps.
- The air temperature in the room should be between 20-25˚С. It is worth paying attention to the humidity of the air. If the air is dry, it is worth additionally humidifying with a spray bottle or a special humidifier.
- Water the soil no more than 2 times a week, but abundantly. Water should be at room temperature, previously settled.
- After the sprout appears, it is worth taking care of feeding.It is advisable to use nitrogenous fertilizers, you can also feed it with ammonium nitrate.
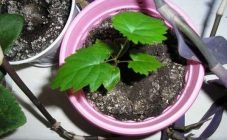
- After the emergence of a sprout, before the formation of leaves, you need to dive. The process consists in pinching the third part of the root. Then you need to transplant the sprout into a new soil saturated with nutrients.
Planting a plant in open ground
To plant a ready-made seedling in the country, the soil must be prepared. To do this, follow the following step-by-step guide:
- The place should be well lit by sunlight.
- Dig up the area and apply fertilizers: 6 kg of manure, 30 g of potassium salt, 60 g of superphosphate.
- Make a groove with sheer edges and stick a stake into it.
- It is necessary to fill the pit with the following composition: 2 buckets of manure, 2 buckets of river sand, 20 g of potassium sulfate, 30 g of superphosphate.
- Set the seedling so that the root collar is 5 cm above the soil level, since it will deepen in the future. Spread the roots.
- When filling the depression with soil, it is necessary to constantly shake the seedling so that the roots straighten out.
- Tamp the soil around the trunk and sprinkle with plenty of water.
- Tie the stem of the seedling to the pre-installed stake.
- Mulch the soil around the plant with sawdust or peat.

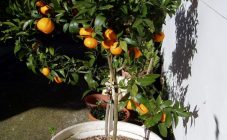
Plum in a pot
In order to further delight the tree with delicious fruits, you will need constant care. No fertilization is required for the first two years after planting. It is only necessary to remove weeds and periodically loosen the soil. During hot weather, you should not forget about moistening the soil, as well as carrying out protective processing of the tree from aphids and rodents.
For a novice gardener, the process of growing plum from a stone can seem laborious. But in fact, everything is quite simple, because when the above rules are followed, you can grow a productive variety that delights with tasty and healthy fruits.